Riverside photoshoot
The Journey
Field of view
Vectorizing/Cartoon images
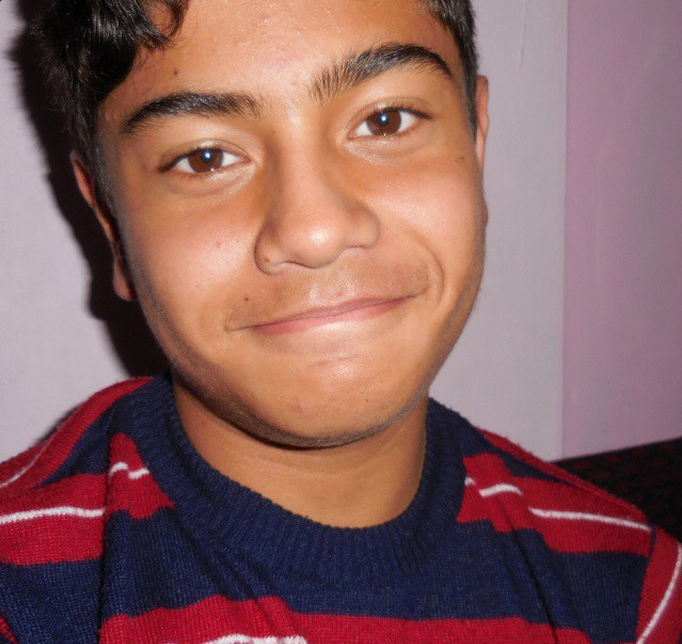
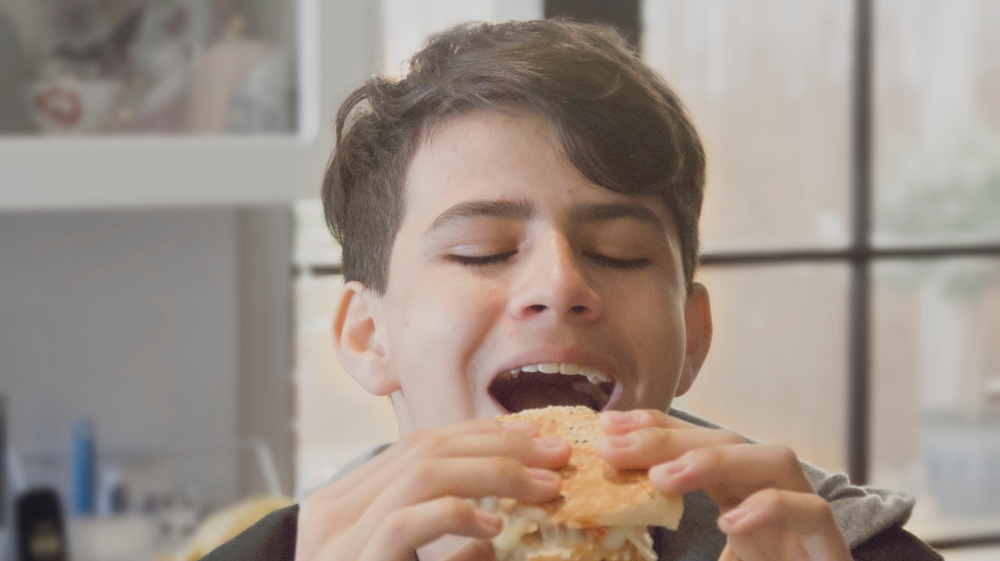
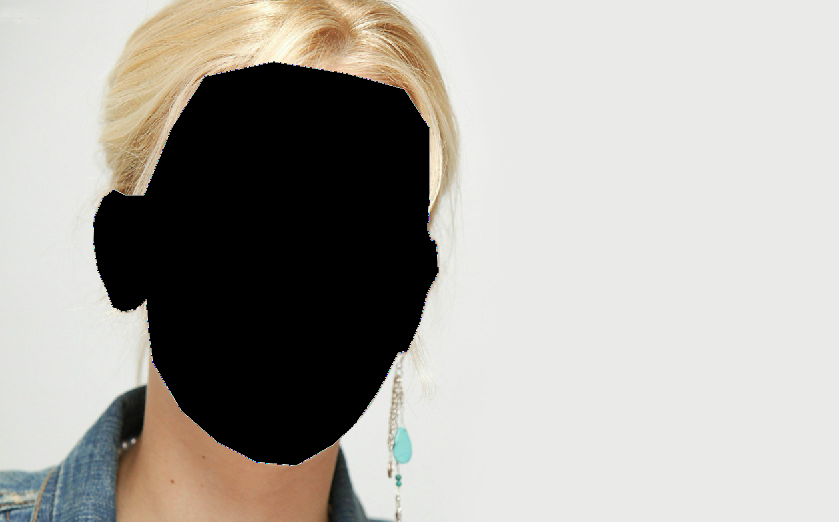
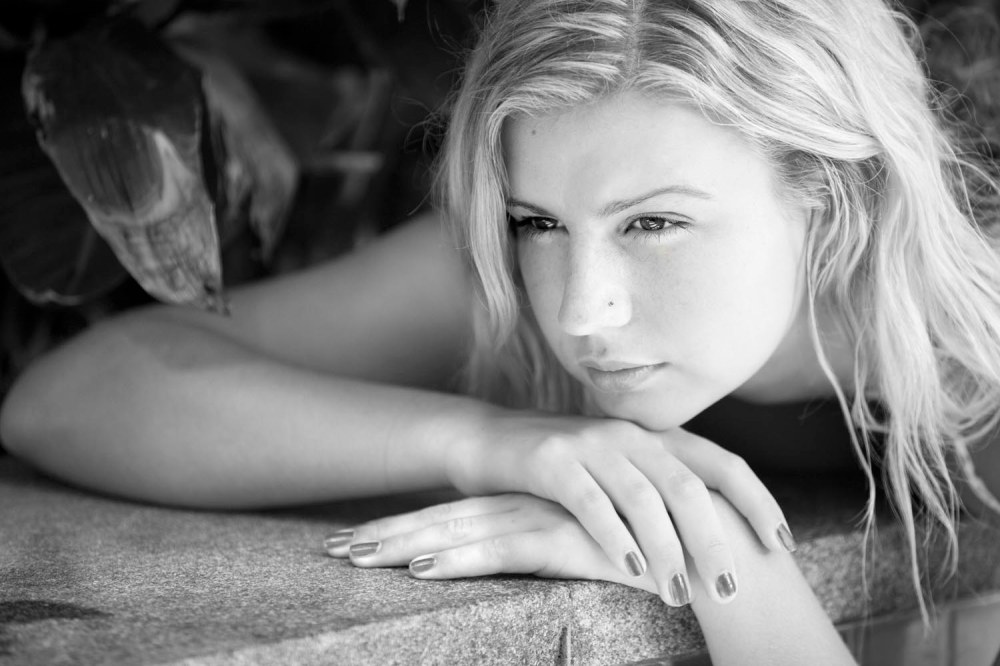
To turn an image into a cartoon, select an image you would like to turn into a cartoon, today we will use this image.
Then you go to the Pen Tool making sure that it is selected to shape not pen:
Then trace over the outline of the face:
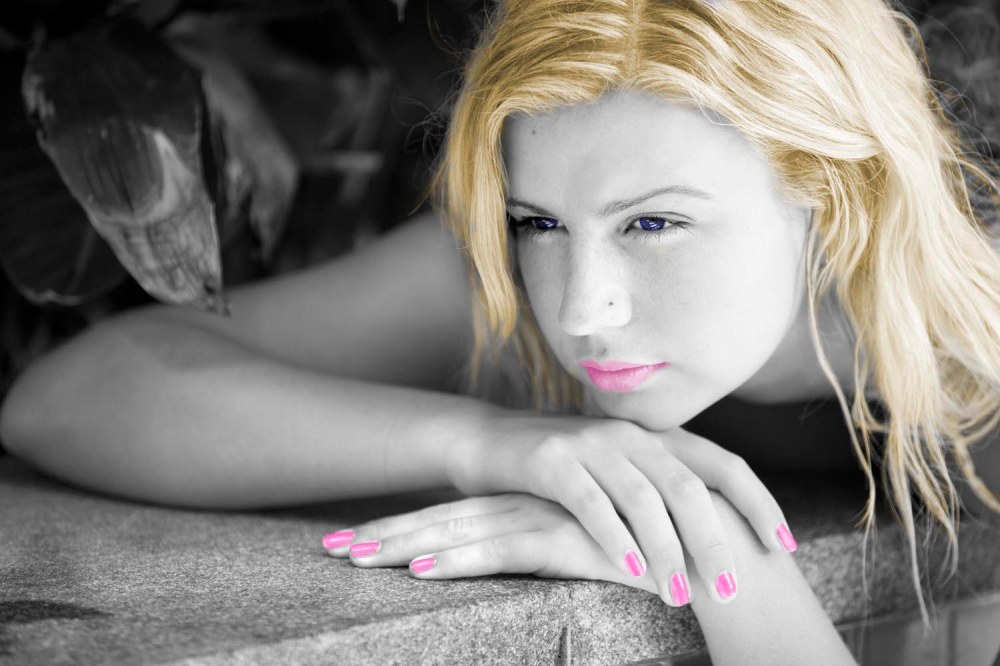
Then recolour it using the method of your choice.
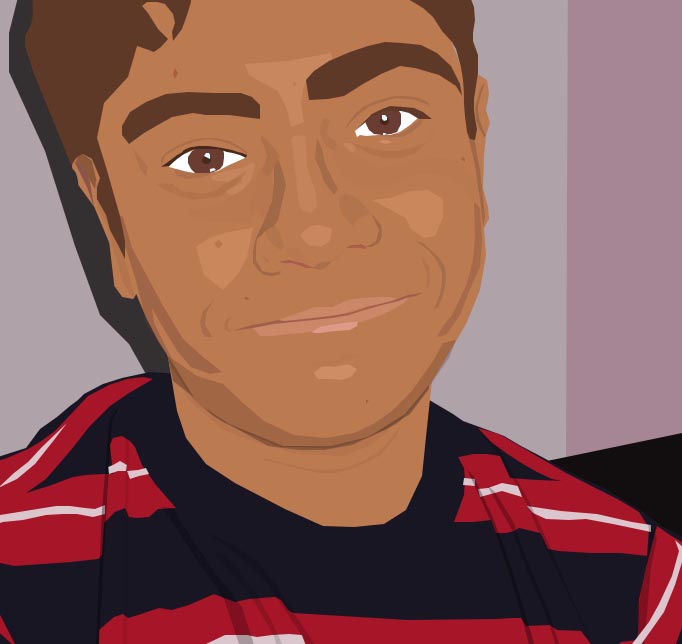
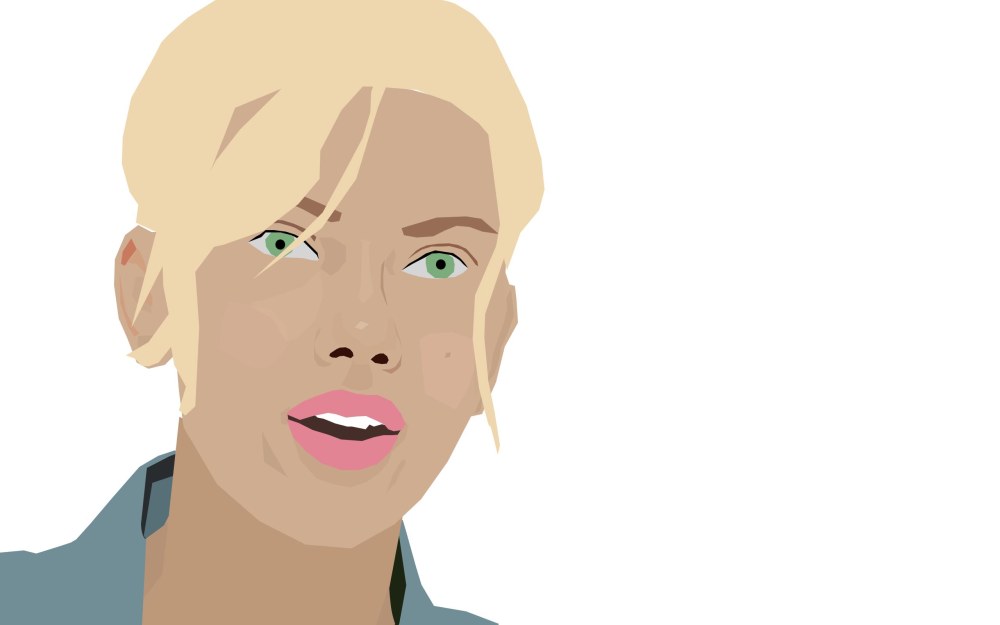
After this is repeated on the whole face, this is the result:
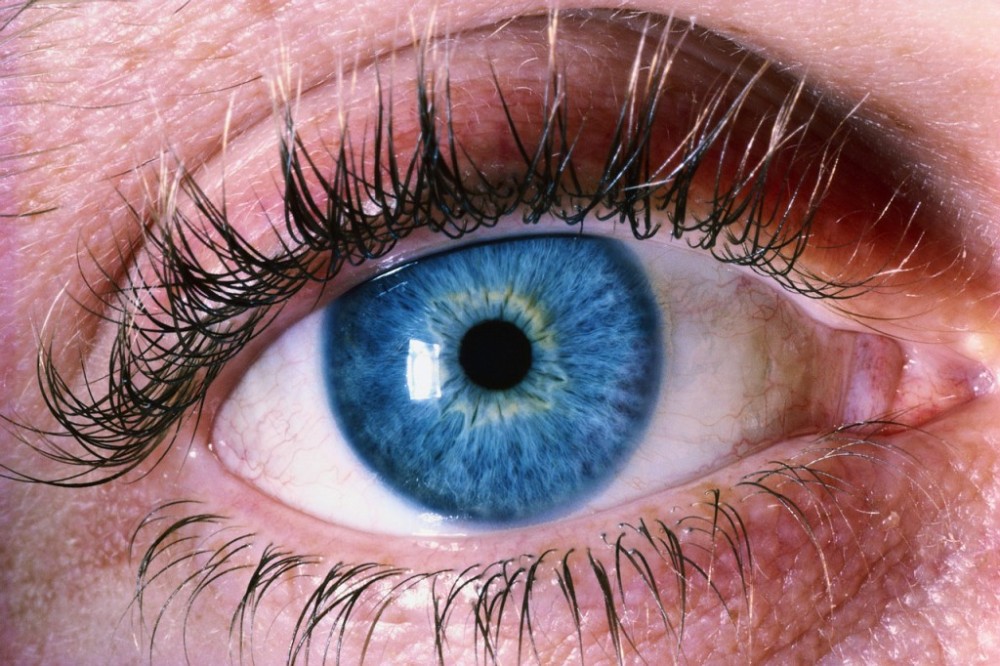
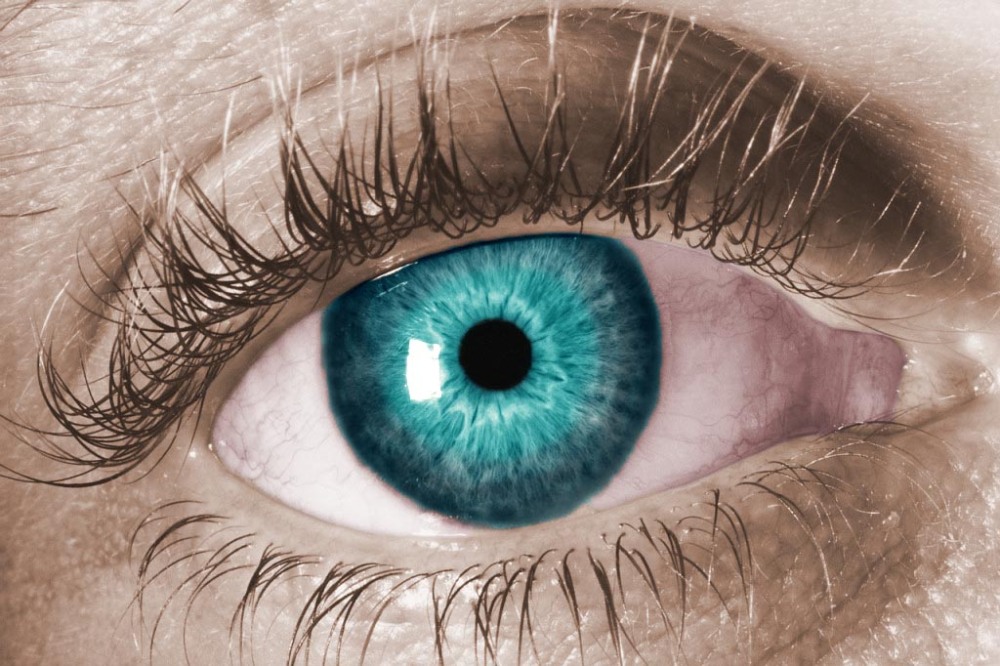
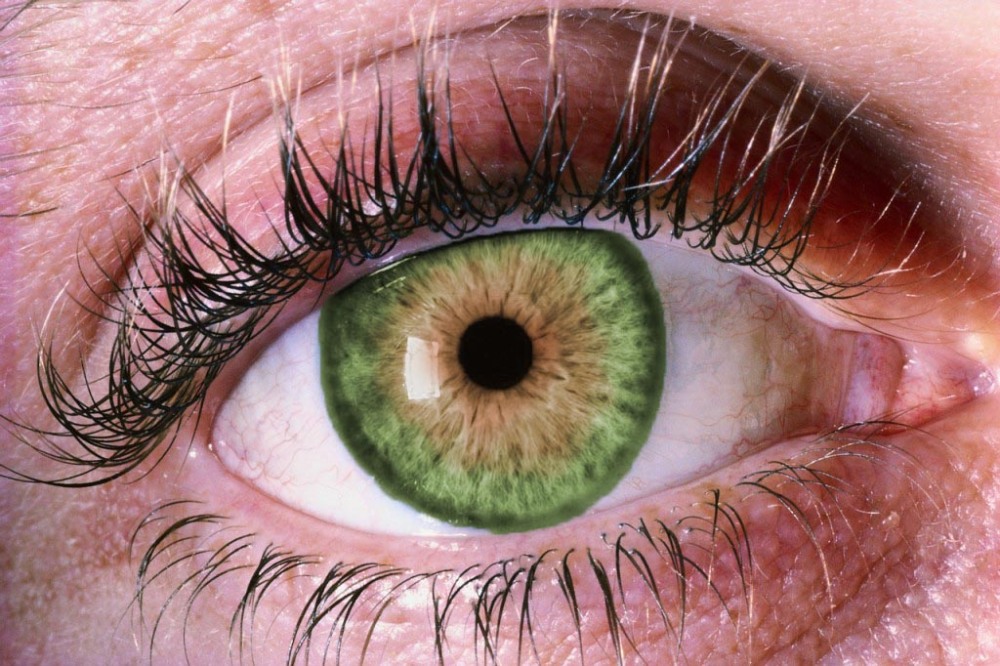
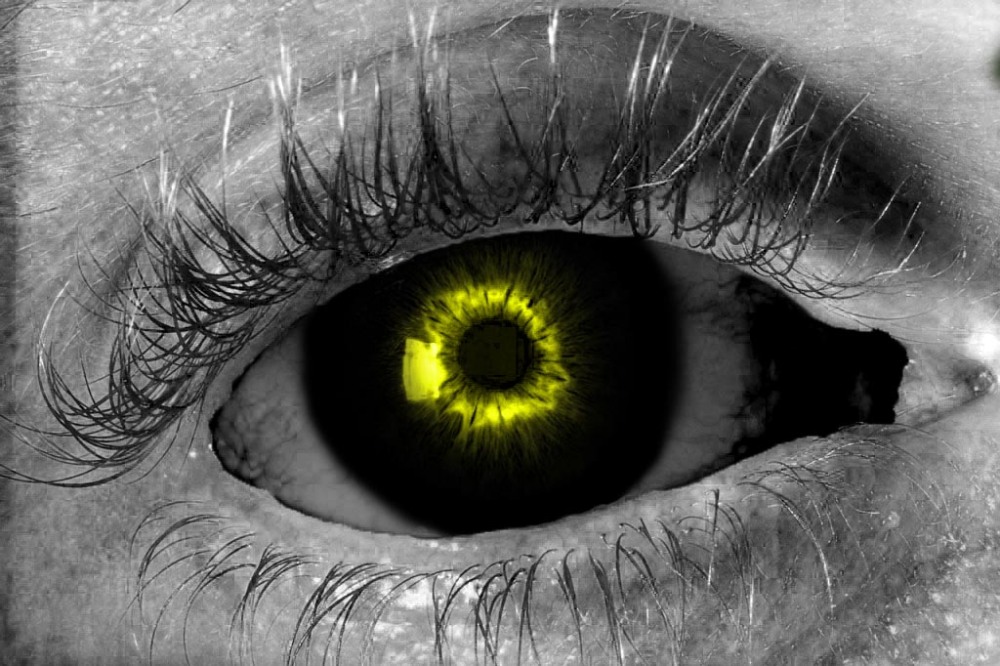
Eye recolouring
Making a Panda!
As this image is made from scratch, rather than from a ready-made image, we need to create a new project, to do so, go
File -> new…
These are the settings we will be using today.
Ellipse tool
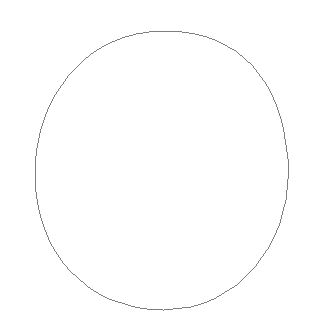
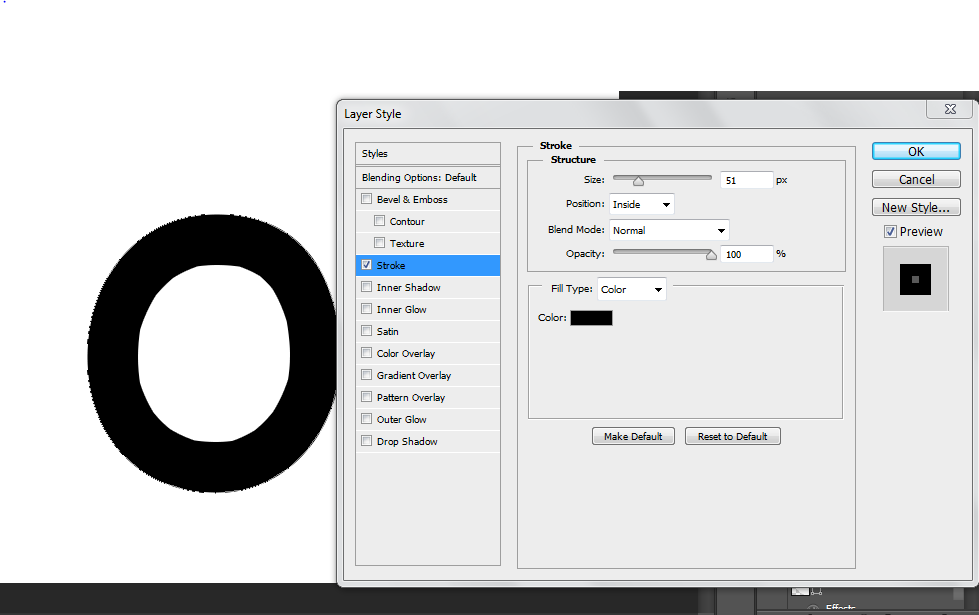
The ellipse tool allows us to create circles and rectangles by clicking and dragging, this is how we will make our panda. However, the line of the circle is way to thin. We will fix this by using the stroke tool.
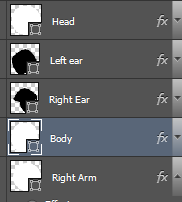
To get to the stroke tool, click on the ‘fx’ symbol on the layer of your choice
you can then alter a number of features about the shape, for now we will just use the stroke option:
As you can see the outline of the ellipse is much thicker.
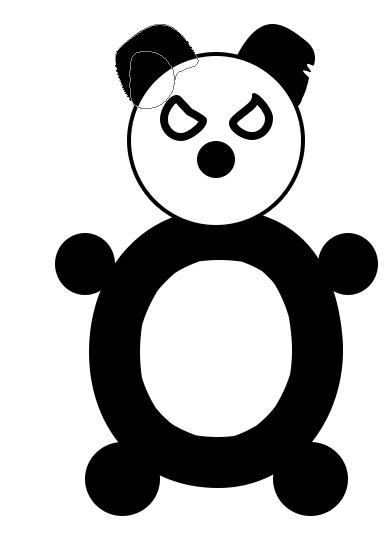
Eventually, this is the result
Notice that the panda’s ears and eyes aren’t exact ellipses, this has been done through the direct selection tool:
The direct selection tool allows you to modify, add and remove anchor points, allowing you to make more varied shapes.
Layers
Layers allow you to modify certain parts of an image whilst leaving others unaltered.
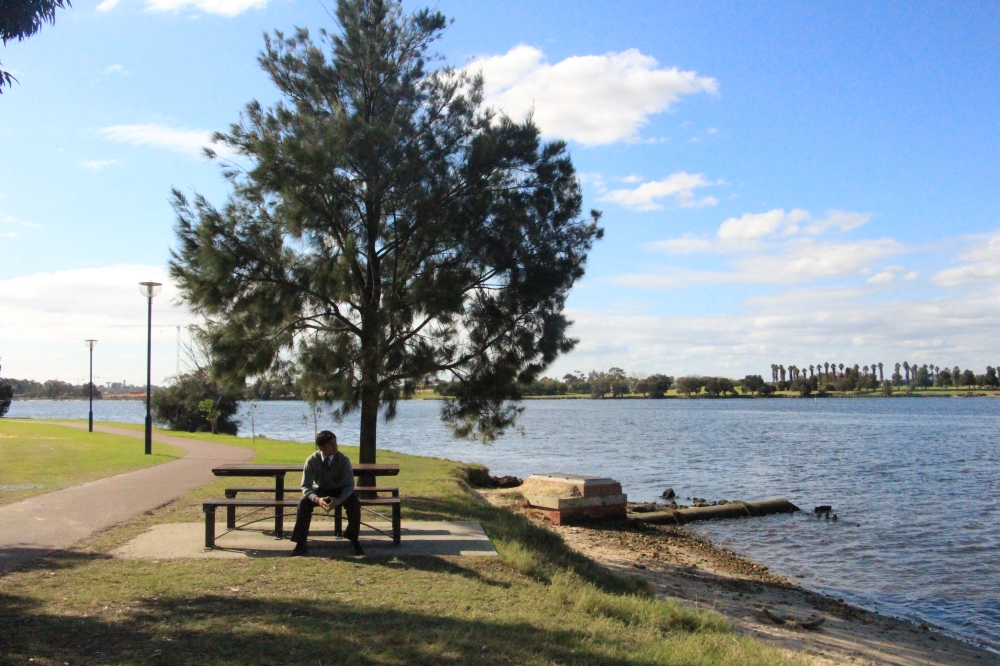
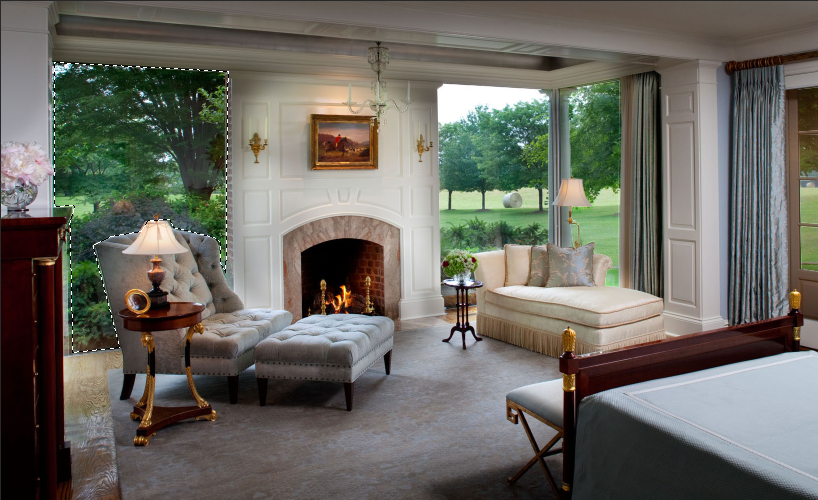
For this demo we will use the image below
First, select the area you want to modify using one of the selection tools.
To select multiple areas, hold shift for your first click.
Then continue selection as normal.
One you have finished selecting, inverse the selection.
To split the image into different layers go to Layer -> new -> layer via cut
The image will then split the selection into different layers.
They can be seen in the bottom right corner.
You can then open up the image you want to add into the picture.
In order to add the image to the picture you need to split the tabs so both can be seen at once, you do this by simply dragging the tab off the tabs area.
Then you simply click and drag one image onto the other using the move tool
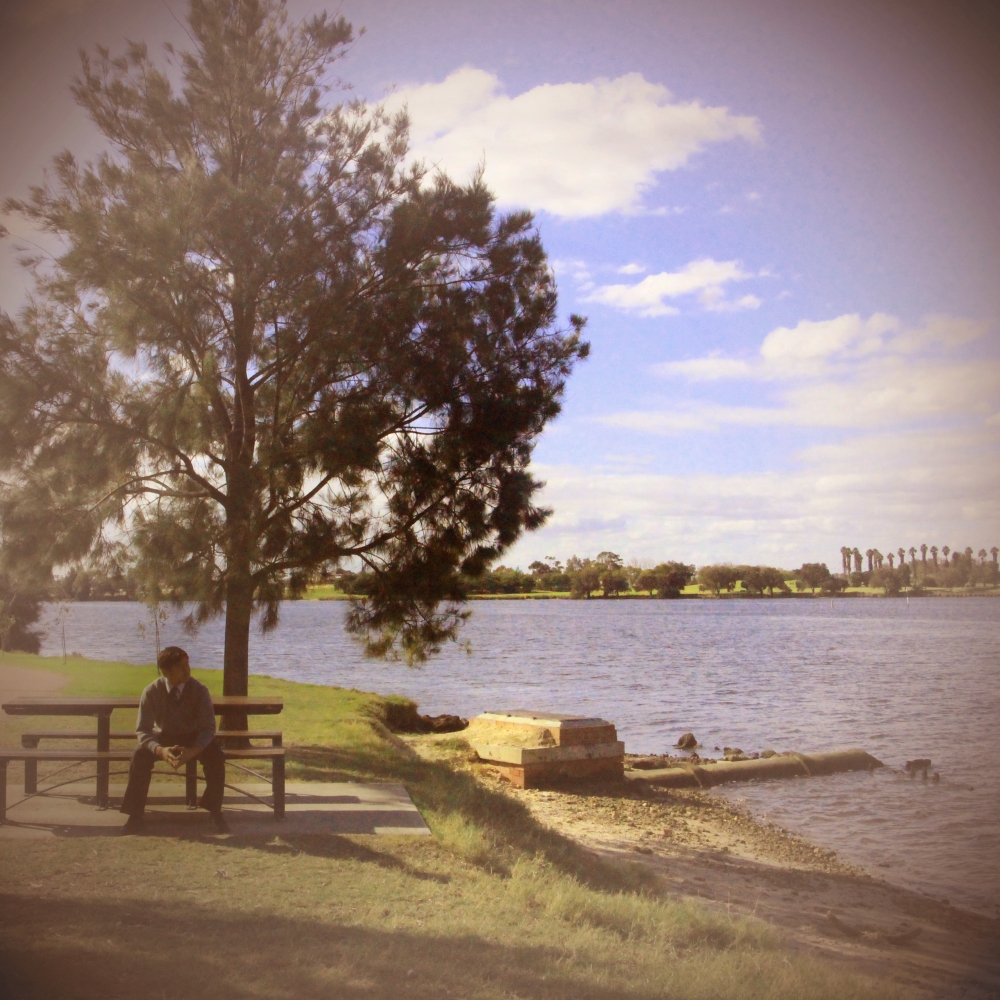
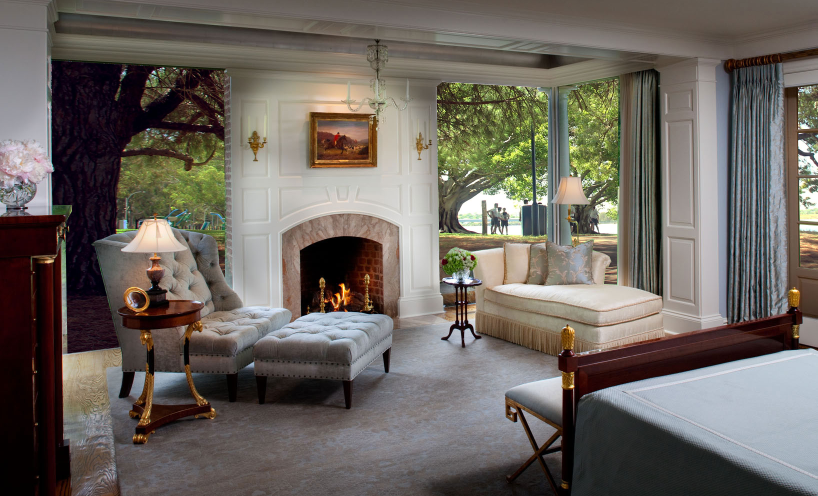
you can then re-order the layers at the bottom. The end result should look something like this:
