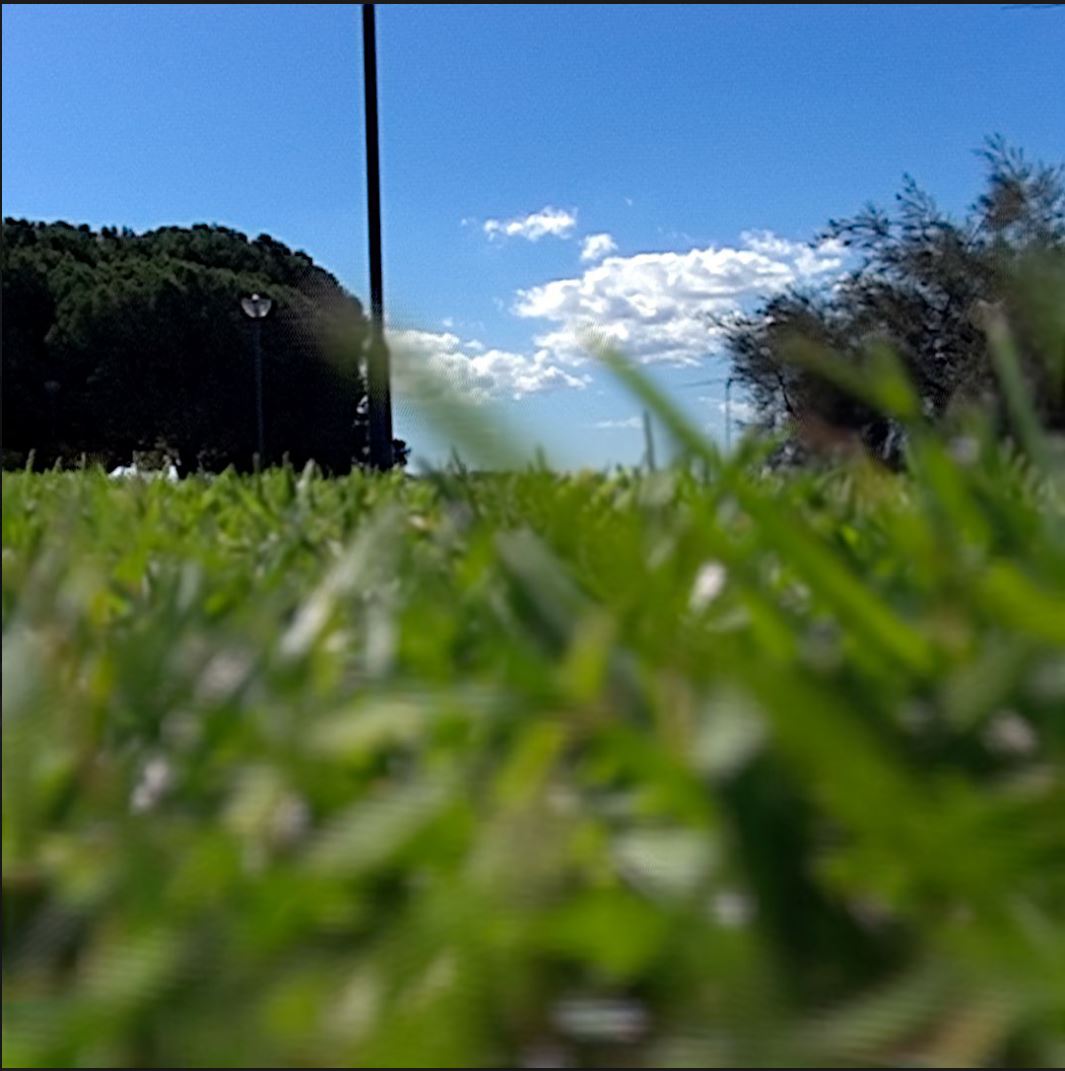
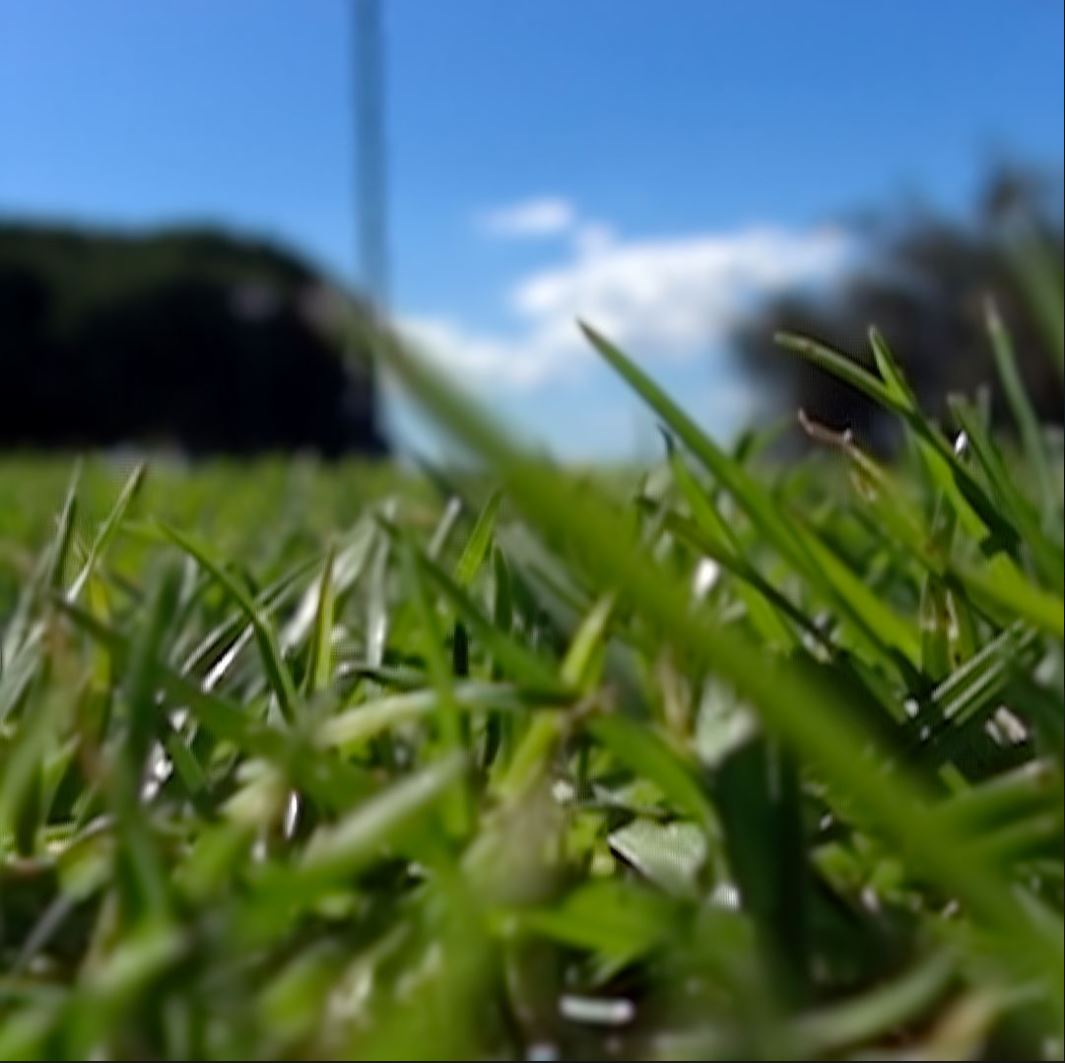
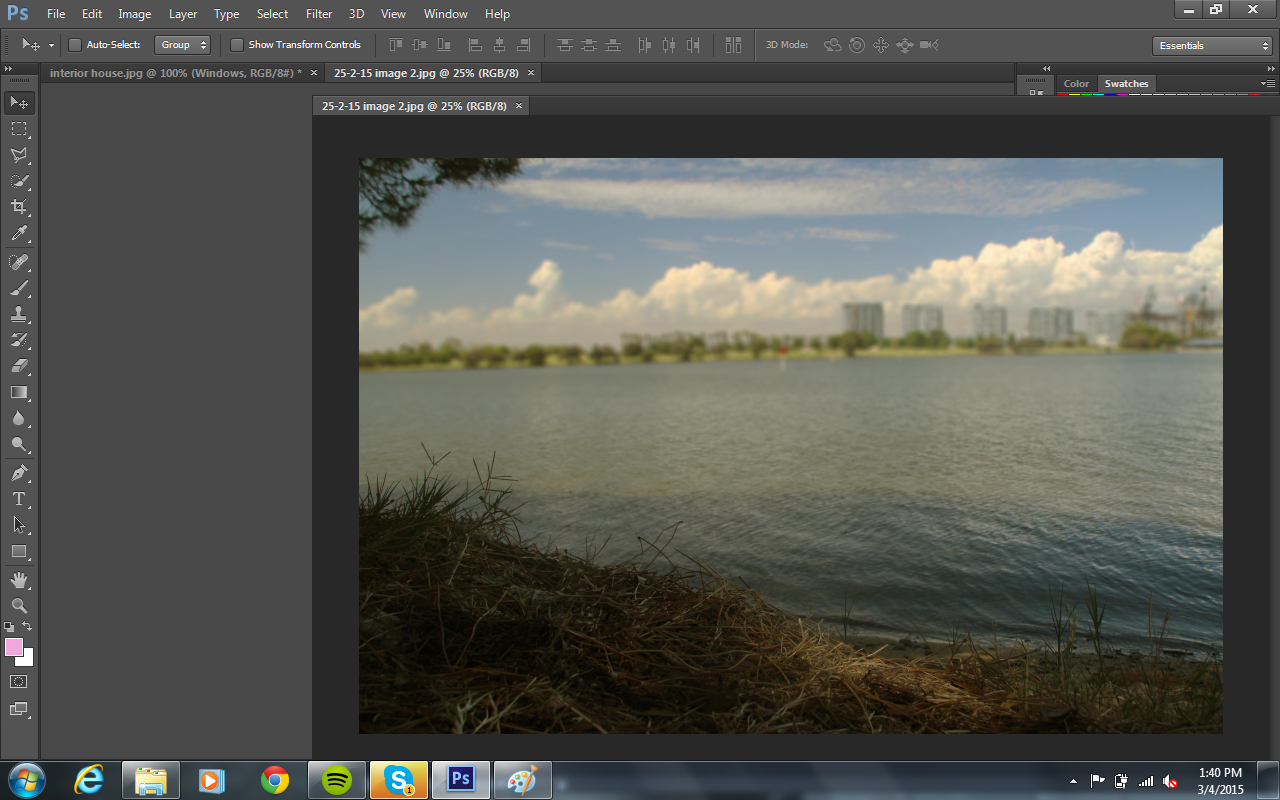
Field of view
All images have three sections:
Foreground:
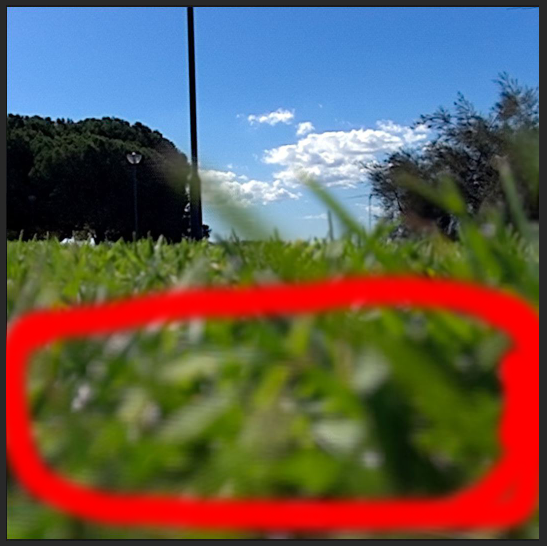
Midground:
Background:
Using Lytro cameras we can adjust which part of the image the picture is focused on:
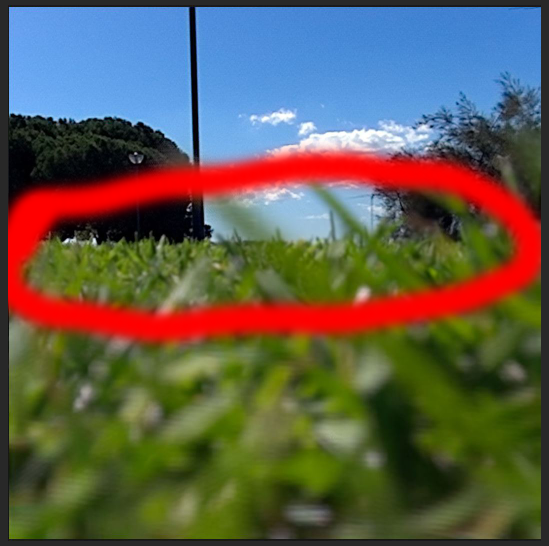
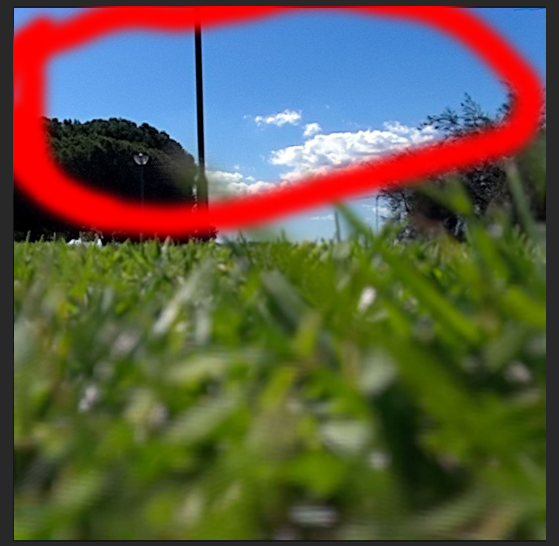
All images have three sections:
Foreground:
Midground:
Background:
Using Lytro cameras we can adjust which part of the image the picture is focused on:
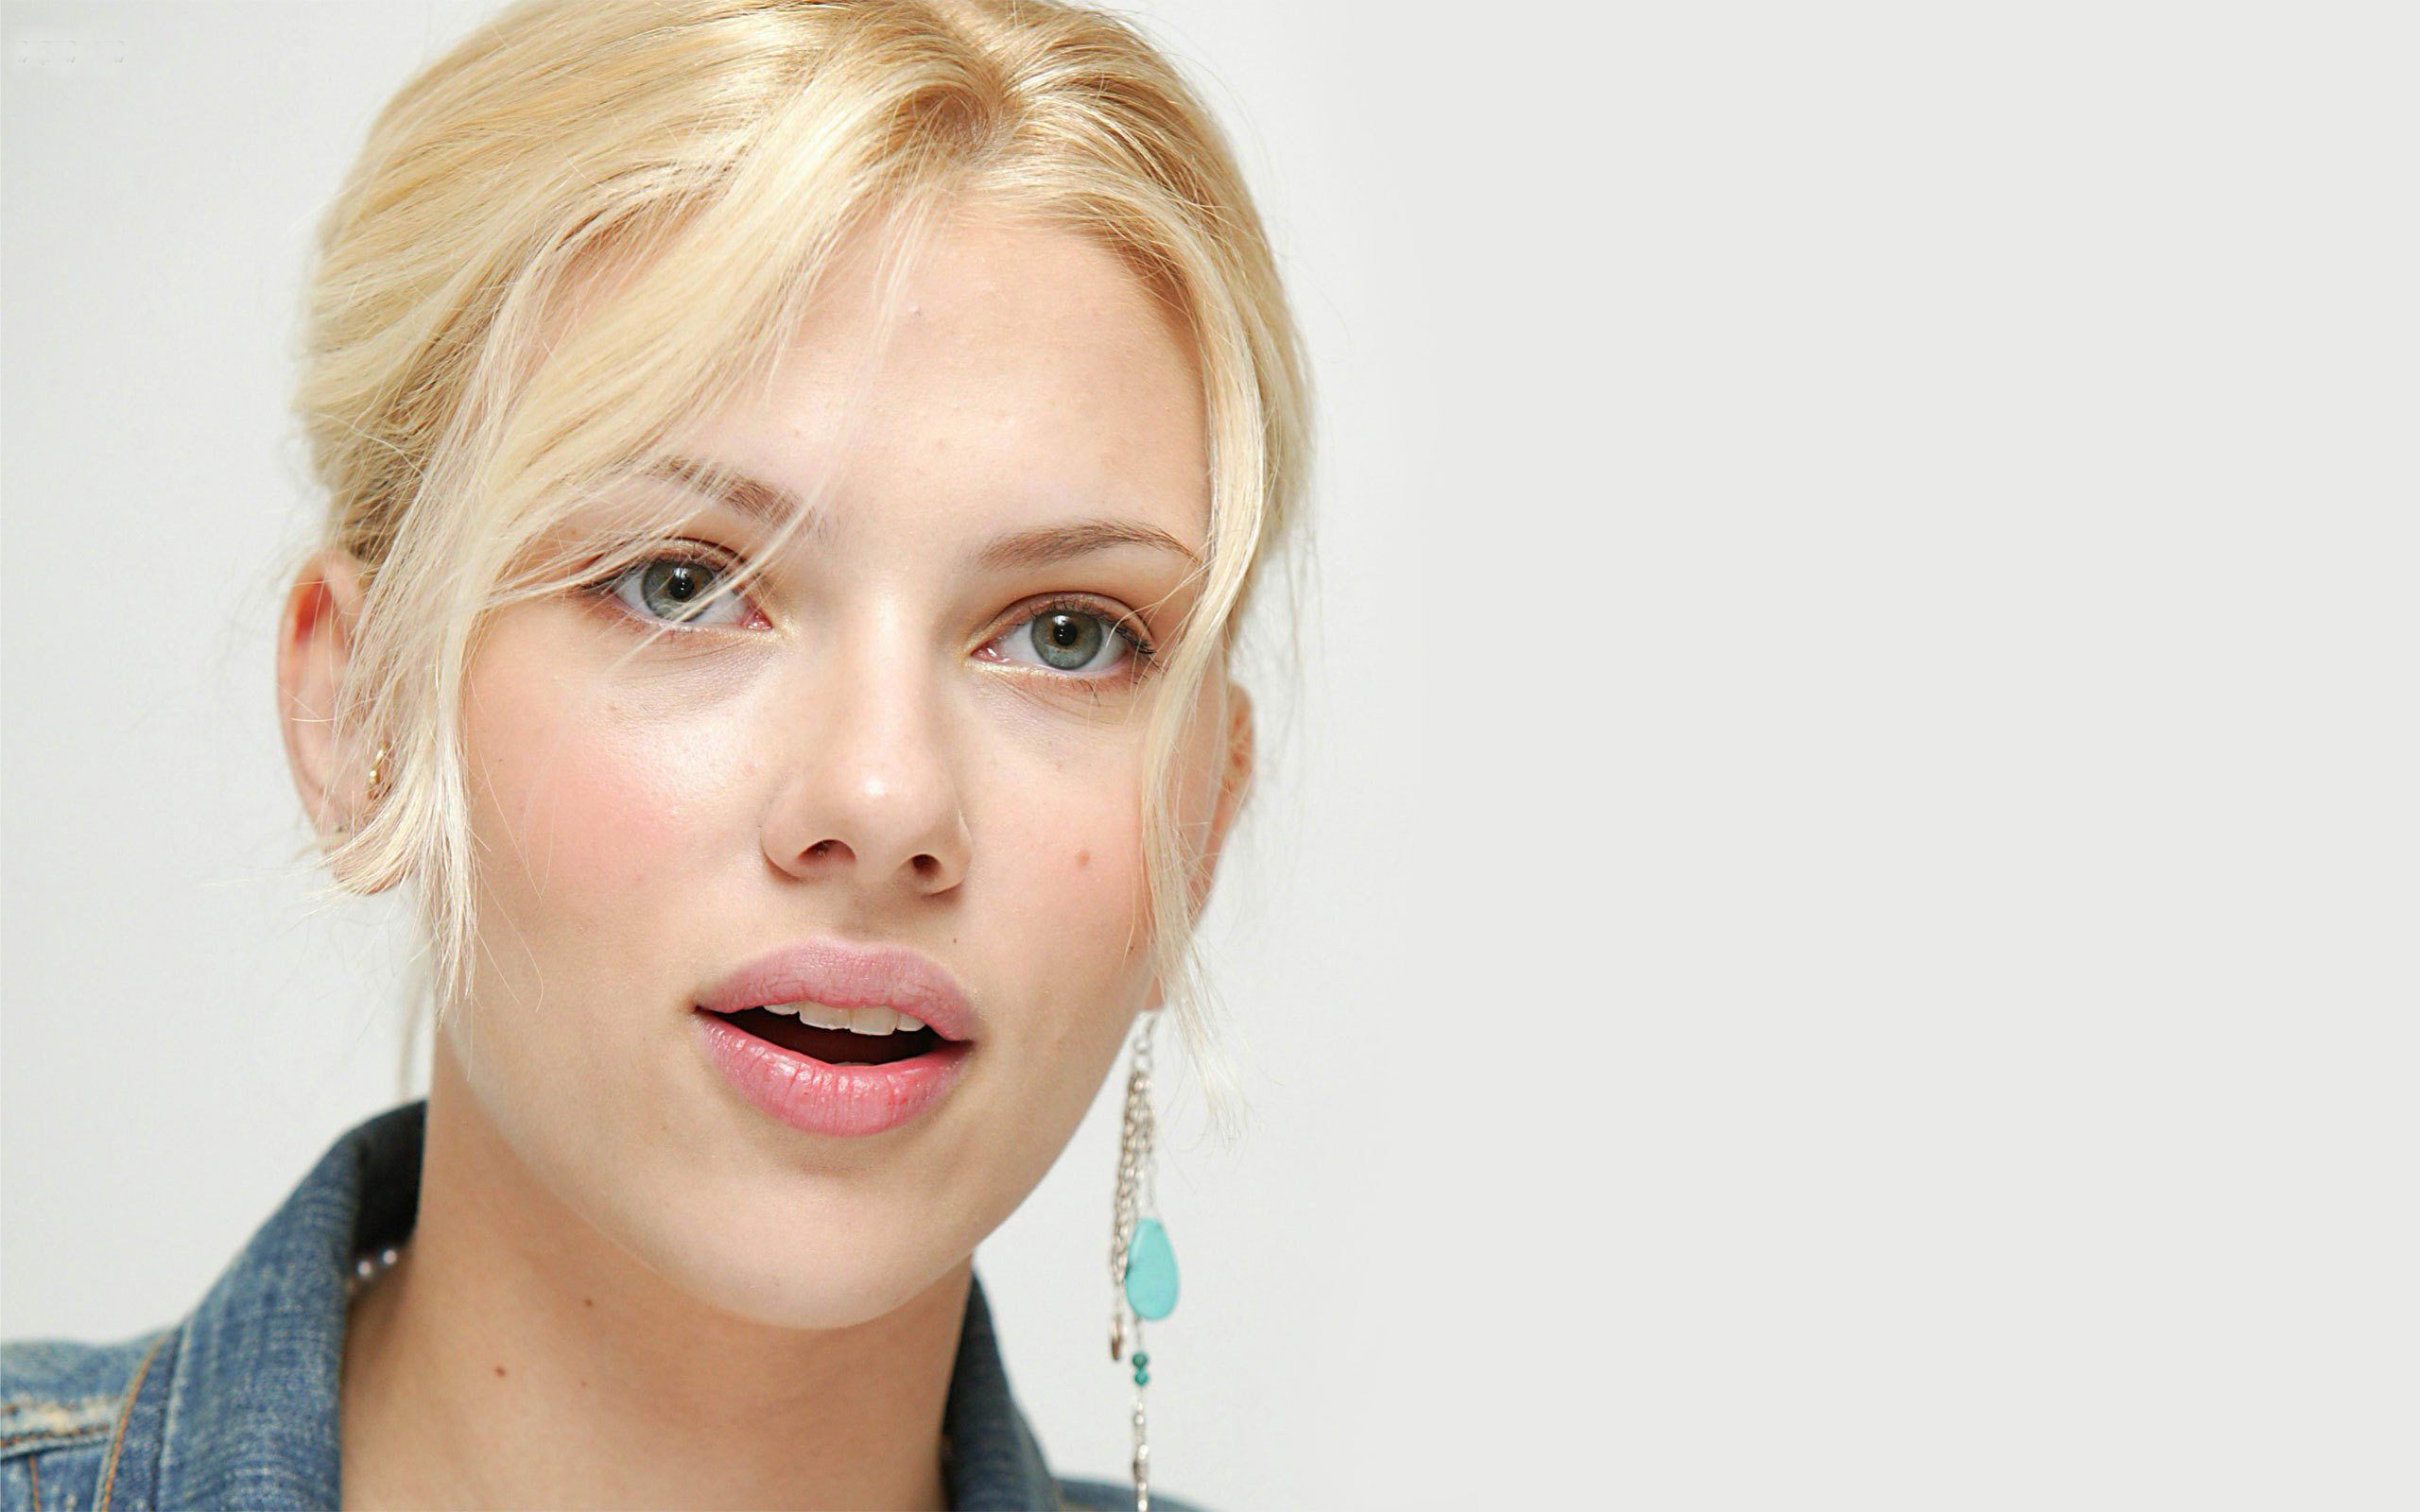
To turn an image into a cartoon, select an image you would like to turn into a cartoon, today we will use this image.
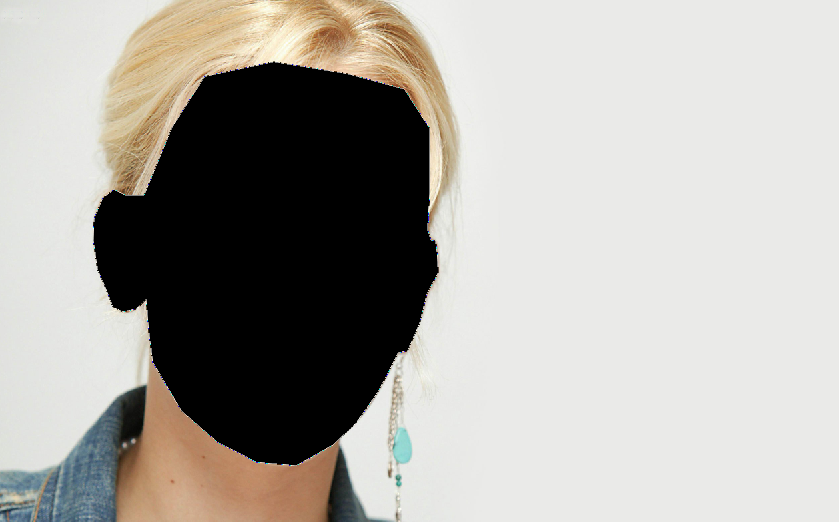
Then you go to the Pen Tool making sure that it is selected to shape not pen:

Then trace over the outline of the face:
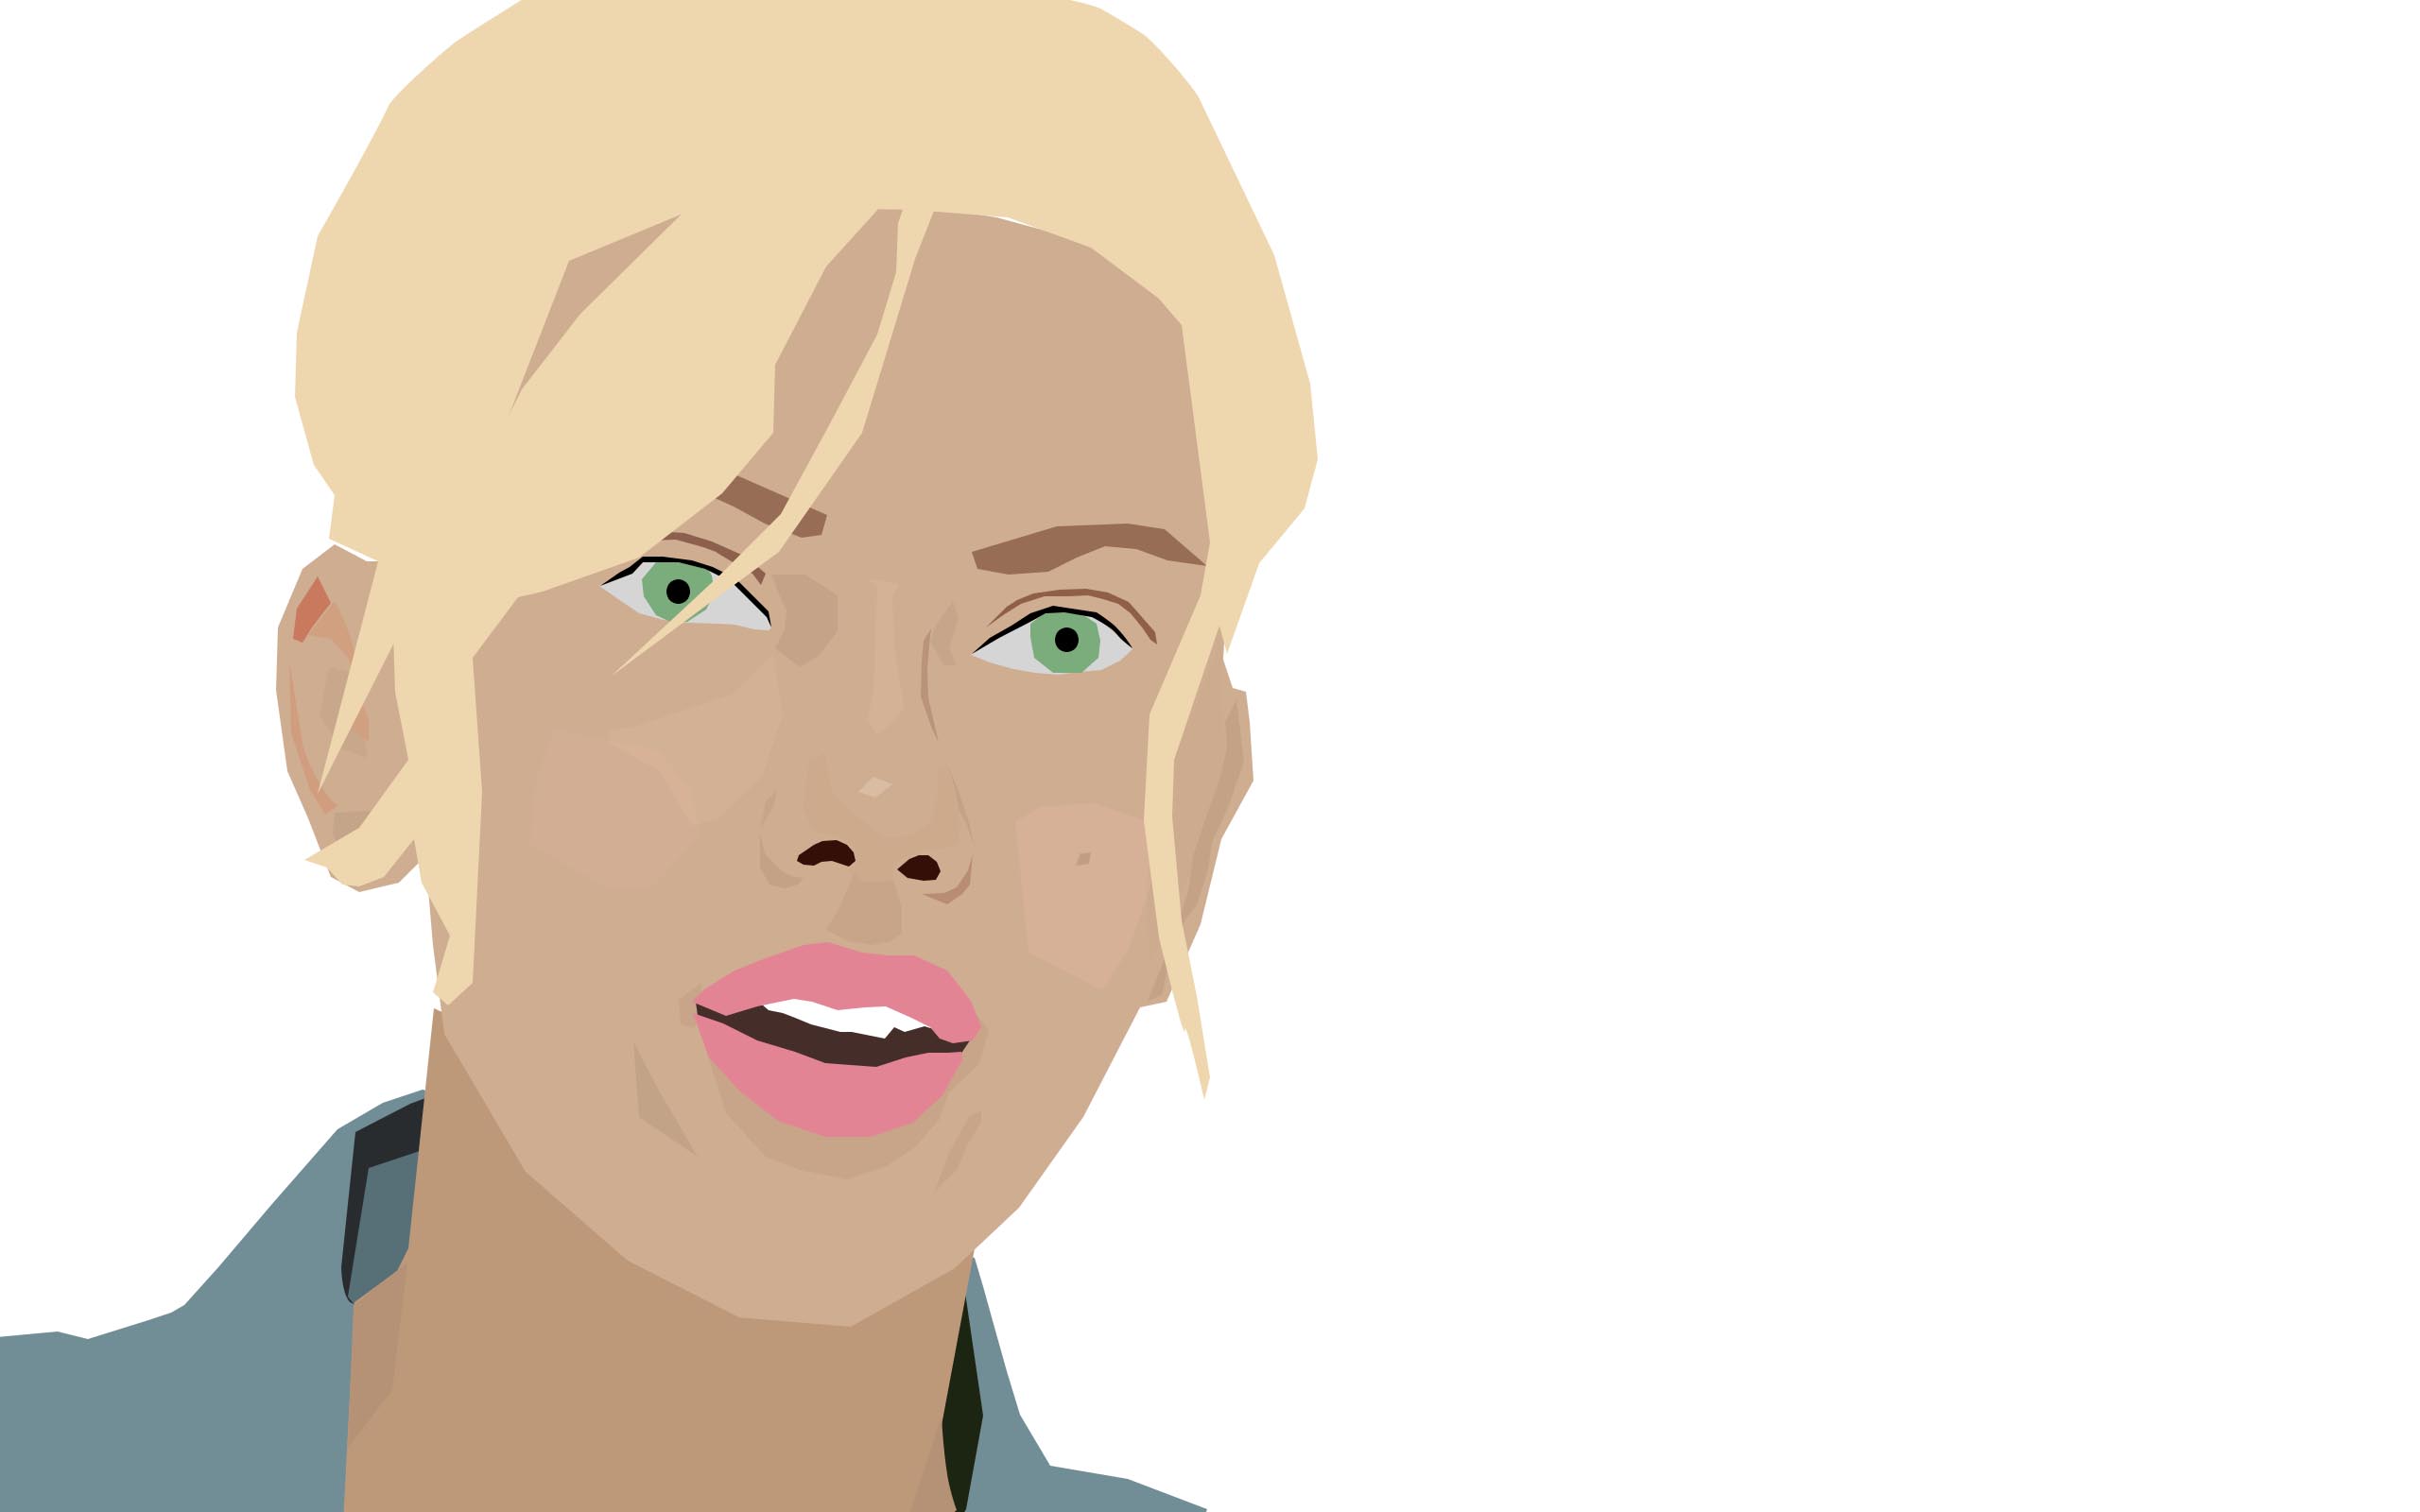
Then recolour it using the method of your choice.
After this is repeated on the whole face, this is the result:
As this image is made from scratch, rather than from a ready-made image, we need to create a new project, to do so, go
File -> new…
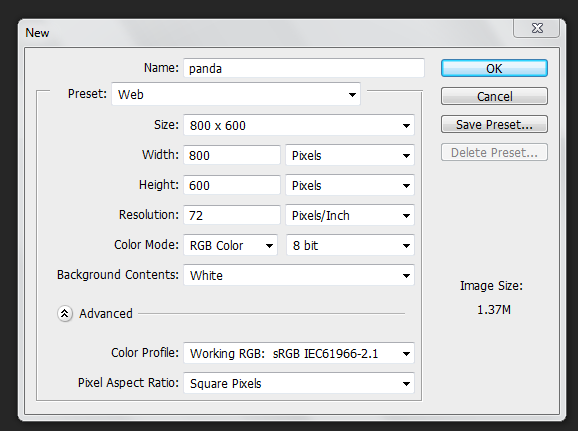
These are the settings we will be using today.
Ellipse tool

The ellipse tool allows us to create circles and rectangles by clicking and dragging, this is how we will make our panda. However, the line of the circle is way to thin. We will fix this by using the stroke tool.
To get to the stroke tool, click on the ‘fx’ symbol on the layer of your choice
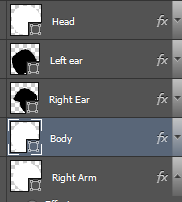
you can then alter a number of features about the shape, for now we will just use the stroke option:

As you can see the outline of the ellipse is much thicker.
Eventually, this is the result
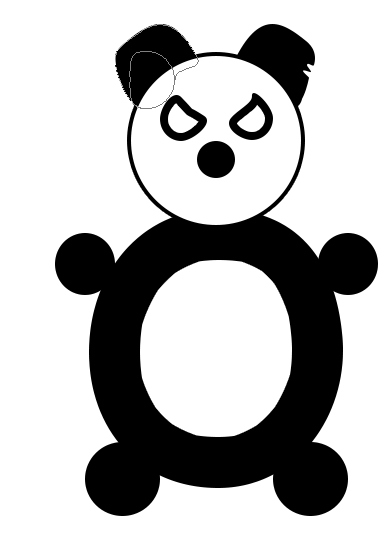
Notice that the panda’s ears and eyes aren’t exact ellipses, this has been done through the direct selection tool:

The direct selection tool allows you to modify, add and remove anchor points, allowing you to make more varied shapes.
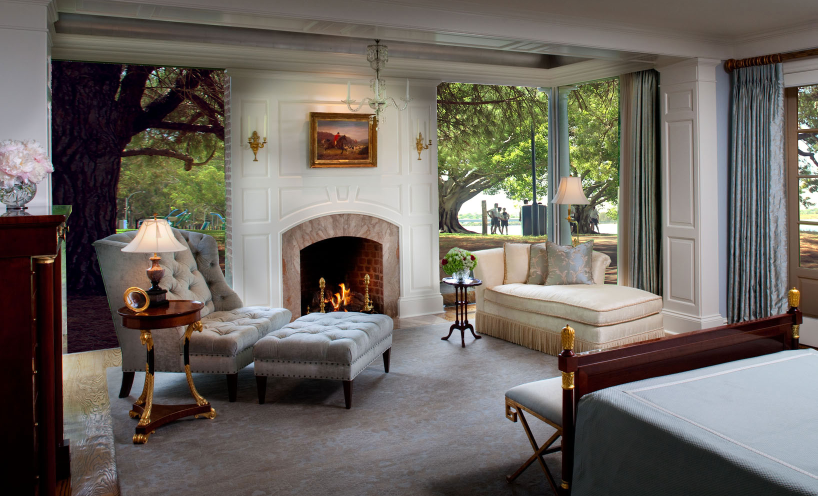
Layers allow you to modify certain parts of an image whilst leaving others unaltered.
For this demo we will use the image below

First, select the area you want to modify using one of the selection tools.
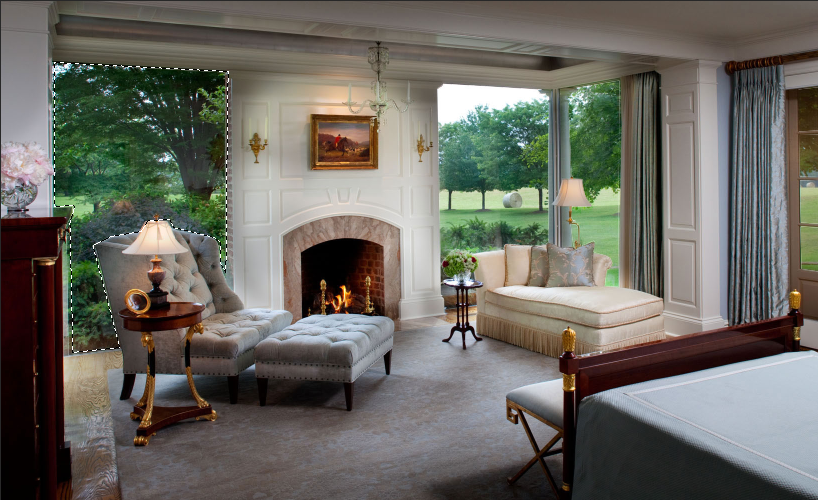
To select multiple areas, hold shift for your first click.
Then continue selection as normal.
One you have finished selecting, inverse the selection.
To split the image into different layers go to Layer -> new -> layer via cut

The image will then split the selection into different layers.
They can be seen in the bottom right corner.
You can then open up the image you want to add into the picture.
In order to add the image to the picture you need to split the tabs so both can be seen at once, you do this by simply dragging the tab off the tabs area.
Then you simply click and drag one image onto the other using the move tool

you can then re-order the layers at the bottom. The end result should look something like this:
Quick Mask Tool

to use the quick mask tool you select paint and then go to the paint tool then click quick mask tool (below)

you then select the area you want to edit, a pink overlay will appear like so

Then you simply click the icon below again, and then inverse selection. The selected area can now be modified.
Hue/Saturation

To get to this screen go
Image > adjustments > hue/saturation.
The image can then be recoloured
Polygonal lasso tool

The polygonal lasso tool allows you to select irregular areas

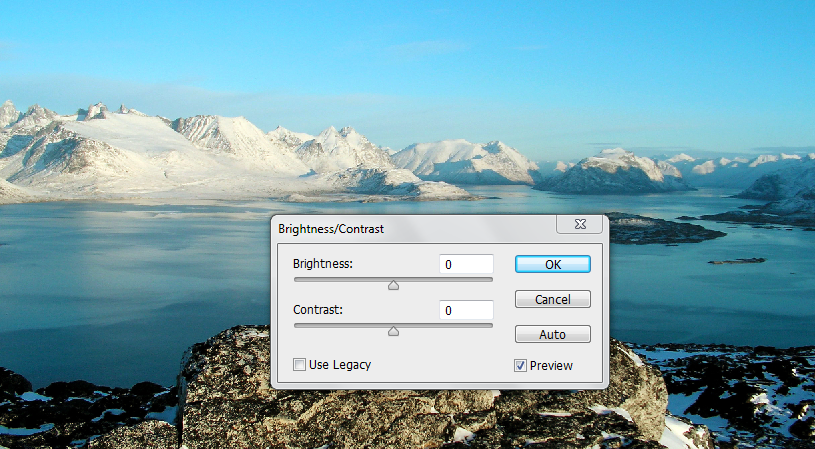
Image adjustments
Brightness/contrast
Brightness and contrast allows you to adjust certain colour elements of the image
Before
After

Levels
Levels allows you to adjust the image in more complicated ways
Before

After

Curves
Curves, like levels, is a more in depth way of editing colour in images
Before

After

Square Marquee tool

the square marquee tool can be used to select rectangular areas in your image, you simply click and drag from one corner of the area you want to select to the other.
‘Marching ants’ will then appear around the area that has been selected, like so

The highlighted area can then be modified in a variety of ways.
Today, we will use filters.
Filters

The filter option allows you to modify a selected area in an image. To use a variety of filters Adobe Photoshop comes with, simply click ‘Filter’ at the top, and choose a filter you would like to use.
This is an example of an image that has had a filter applied to it

Inverse selection
To inverse the selection, you can either click ‘Select’ at the top menu bar and then click ‘Inverse’ or you can press Control+Shift+I.
What inverse selection does is inverses what part of the image is selected.
Below is the same image with the same filter applied with inverse selection.

