Square Marquee tool

the square marquee tool can be used to select rectangular areas in your image, you simply click and drag from one corner of the area you want to select to the other.
‘Marching ants’ will then appear around the area that has been selected, like so

The highlighted area can then be modified in a variety of ways.
Today, we will use filters.
Filters

The filter option allows you to modify a selected area in an image. To use a variety of filters Adobe Photoshop comes with, simply click ‘Filter’ at the top, and choose a filter you would like to use.
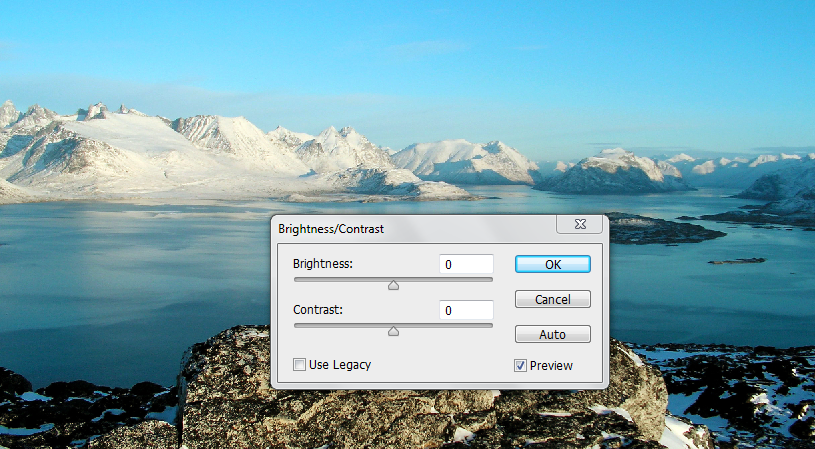
This is an example of an image that has had a filter applied to it

Inverse selection
To inverse the selection, you can either click ‘Select’ at the top menu bar and then click ‘Inverse’ or you can press Control+Shift+I.
What inverse selection does is inverses what part of the image is selected.
Below is the same image with the same filter applied with inverse selection.